|
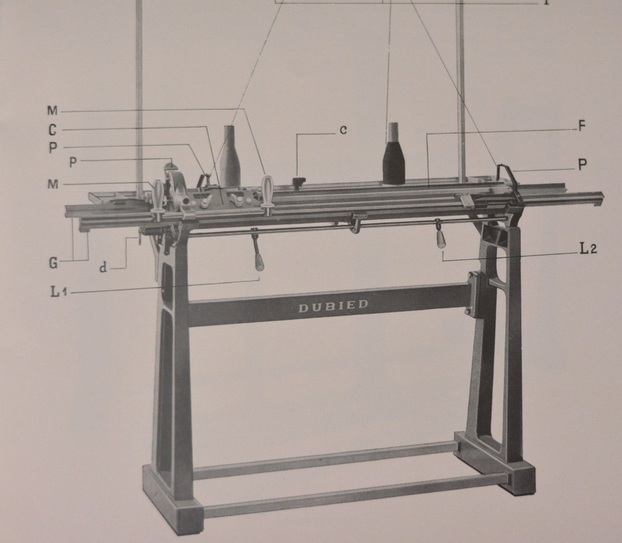
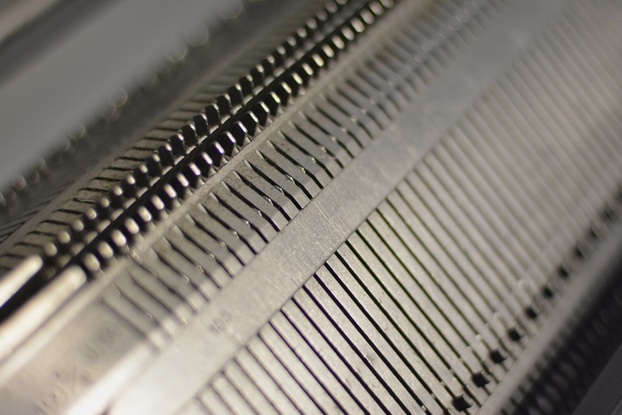
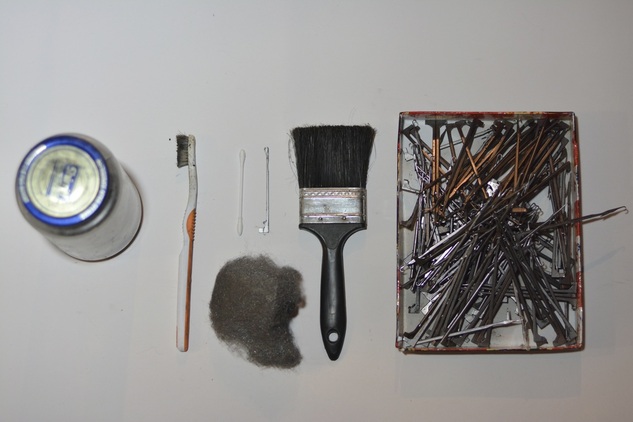
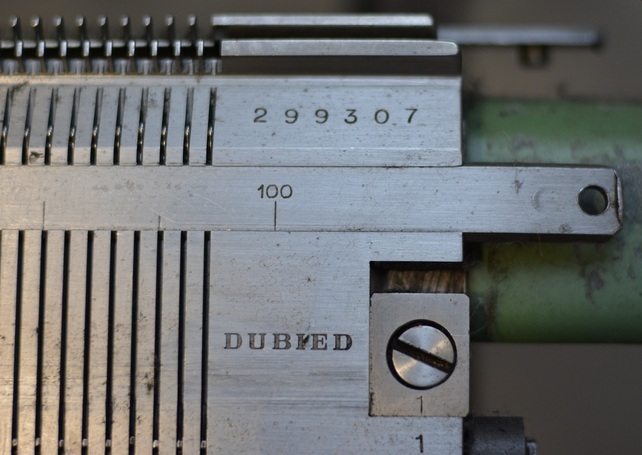
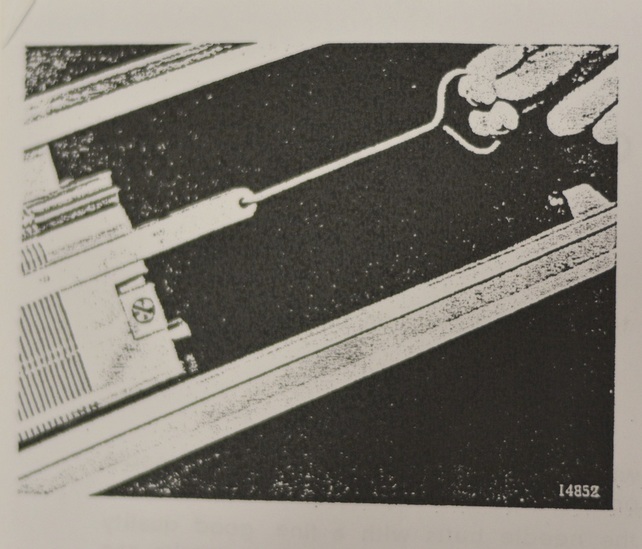
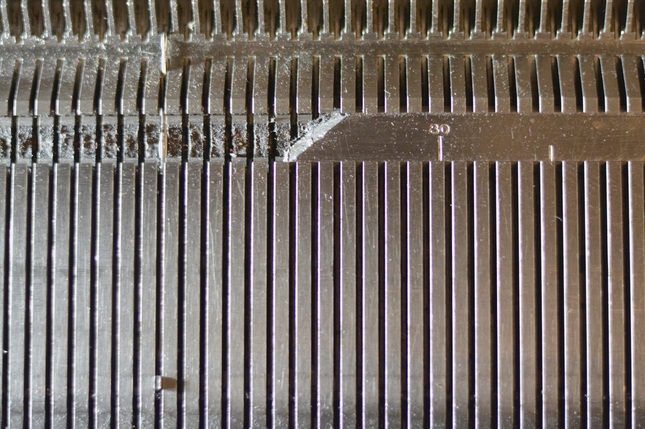
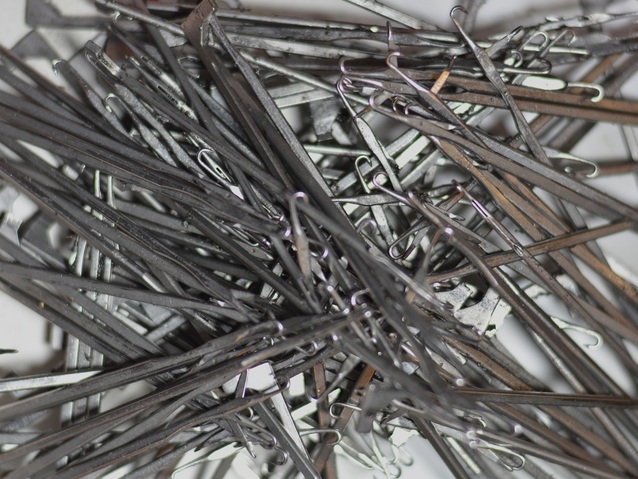
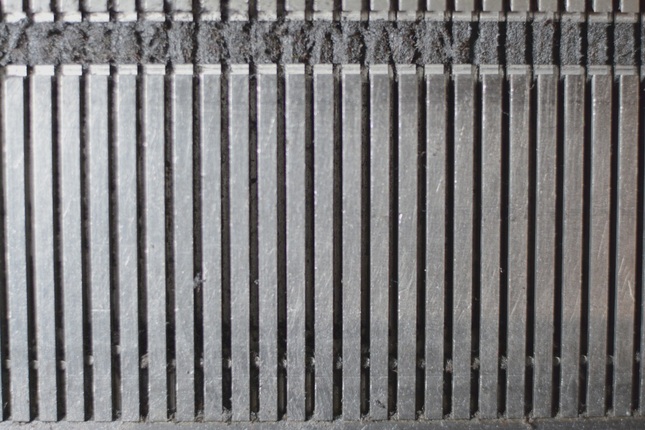
Within the last year and a half, I have been lucky enough to find a number of Dubied NHF4 knitting machines. These have been well cared for by their previous owners and are built in such a way that they work best when used frequently. However, a deep clean was necessary as well as an overall service to get each machine working tip top. I thought I would share some of my favourite tools, processes and basic schematics to help anyone out there with the same issue. This information is strictly for metal industrial machines and should not be applied to hobby machines that have mixed metal and plastic components. When I picked up my machines, the owners were literally just finishing their last order and they were focused on squeezing just one more knit panel from the machines. Which to me speaks of a great bond built through habit and time. Naturally once I got them to the studio and set them up it was clear that they could do with some oil and a cleaning. My manual suggests a daily maintenance of lint removal and oiling. 'The good working of the machine depends to a great extent on the way in which it is maintained.'The user is cautioned to strictly observe regular maintenance otherwise 'many annoyances' through the wear of cams and needles will occur. Over time a combination of yarn lint, oil and dust: 'wool swarf' can build up in the needle channels preventing the needles from working as well as they could. This was definitely the case with my machines. The intended outcome of a deep clean and service is the smooth running of your machine. To accomplish this you must remove dirt, clean the needles, oil areas of concern and remove burrs or dents in the metal. Here is a list of items recommended for proper cleaning. Gather these first before you start. a large mason or pickle jar with a lid 1 cup pf gasoline or mineral spirits an old toothbrush an old wide paint brush a mallet 1 cup of sewing machine oil an oil dispenser a packet of fine steel wool a old needle with the hook clipped off paper towel or work cloths a list of suppliers for ordering any required spare parts To start your deep clean, you must remove the needle plate from the needle bed. The needle plate on my machine that runs over the needles was seized from lack of oiling and over time the previous user had had to resort to brute force with a mallet and screwdriver to open it up. The screwdrivers edge created metal burrs along the plate and required scouring to smooth the metal over. If yours is not easy to pull out using needlebed hook (picture), then you will have to hit the mallet against the needlebed hook to get it to come out. Once you slide it back to the end of the bed you can take a metal file and run it along the bevelled edge to remove burrs or uneven raised metal chips. Make sure to polish your filed edge with a piece of fine steel wool. Mine was solidly seized so I liberally oiled the top of the needle plate and its underneath as I slid it back. Depending on your strength and fitness, this may be a two person job. Once you have it removed and you have smoothed out your burrs pull out all of your needles. Yup, all of them. You will need to clean out the needle channels and the needles themselves. Then you will have to check your needles hooks to see if they are bent or broken. A telltale sign that the needle channels need cleaning is if the needles rock back and forth in their channel. Gunk builds up at the base of the channel forcing the needle to rock upwards and flex which leads to breakages. Once you have pulled out all of your needles you can place them in an ultrasonic cleaner which quickly removes grit and dirt as well as rust spots. Or you can place about 20 at a time into a large pickle jar with a 1/4 cup of gasoline or mineral spirits and gentle shake the contents for a minute. I find this to be quite effective. The gasoline smell can be quite strong so work in a well ventilated area. The nice thing about this is you can use the 1/4 cup of gasoline until it is very dirty and it still retains its cleaning effectiveness. The gasoline evaporates from the needles are leaving no residue and you can then see if there is rust build up (which you can scour away with wire wool). Some people also mix a small amount of oil with the gasoline or mineral spirits, which also works. I prefer to oil my needles afterwards. To clean the needle bed use an old broken needle with the head and hook clipped off and drag it through each channel or 'trick' to loosen and remove dirt. This takes awhile and requires good light over the needlebed (and some good music). I drag the broken needle, wipe the residue on a paper towel and then move to the next one. I then use an old paint brush to sweep away stray oil and gunk. Q-tips are also useful here but will not fit into the needle channels. Really dirty needle channels benefit from gasoline applied vigorously with a large hard brush or toothbrush to loosen the oily gunk. The manual also calls for the removal of the plush velvety band that lies at the top of the above image. Wash this plush band with soapy water and let dry. Mine are very ugly but they seem to work. In putting everything back, you need to oil, oil and oil again. The needles need each hook oiling with an oily rag. The tricks or channels need light oiling. The needle bed also needs oiling so that the carriage and cams can slide over it. And finally the needle plate needs plenty of oil.
The curious thing about these old machines is that they really benefit from use. Regular maintenance and usage keeps them humming along happily for many years. In Part 2, I will talk about the carriage and how to maintain the cams.
15 Comments
Antonella
9/8/2014 04:49:46 am
I am Italian, and I bought on ebay by two days the same machine. is beautiful. Thanks for the directions for cleaning, very useful. Too bad I don't have the manual
Reply
Anna
9/8/2014 05:27:51 am
Hi Antonella,
Reply
Antonella
9/8/2014 07:17:46 pm
Hi,
Antonella
9/8/2014 09:05:28 pm
Hi,
Reply
anna
9/10/2014 10:19:18 am
Hi Antonella,
Reply
Antonella
9/10/2014 03:50:31 pm
Hi, thank you very much.
Reply
Antonella
9/10/2014 04:09:09 pm
Hi,
Reply
anna
9/10/2014 11:40:37 pm
Hi Antonella,
Reply
elisa
11/9/2014 10:36:26 pm
Hi Anna, thank you so much for all this helpful information! i've just bought 3 maschines and looking to get them up and running, they are a little rusty (haven't been used in a year) i hope i can get them the work well! looking forward to your part 2!!!!
Reply
Anna
12/26/2014 05:19:17 am
Hi Elisa,
Reply
Fran
3/14/2020 04:00:55 am
You have so many fantastic posts, I am loving reading through your blog. Just wondering if part 2 of this post was ever blogged as I can't seem to find it. Thanks so much for all this information.
Reply
Nancy
5/1/2021 11:25:44 pm
Hi Anna! I just bought a dubied and doing a deep clean (great tips!) We struggled to pull the band to remove needles and once we managed to get it out the needles have alot of gunk from the sponge band under the needles... would you recommend to clean it with soap water and reuse it or get a new one. Though I'm not sure where to find such a thing. I'm based in Sydney Australia where not many of these older dubied can be found. The machine is I think a 1960s model and the woman hasn't used it in 20 or so years
Reply
John
12/9/2022 01:10:39 pm
Hi Anna,
Reply
Brandon Bobbette
3/14/2023 07:50:24 am
Hey I have a old antique knitting machine from my grandparents and I am certain it is missing pieces it is very similar to this one and have been trying to find out more about it so I can get parts for it or even a manual type thing been trying to find out more if anyone can help that would be great
Reply
Leave a Reply. |
Anna is a Hamilton based knitwear and textile practitioner blogging about her collection development as well as pre-1950's knitwear technology.
Links
Emma Gerard Make something bookhou Iben Hoej krystalspeck workshop bespoke truckee amy lawrence designs Categories
All
|


 RSS Feed